Welcome to your client guide
Creating a strong, captivating brand and website requires collaboration, and we’re thrilled to have you on board for this creative journey. This guide is designed to help you understand the steps of our journey, help you prepare, and help you understand the essential elements needed for the design process.
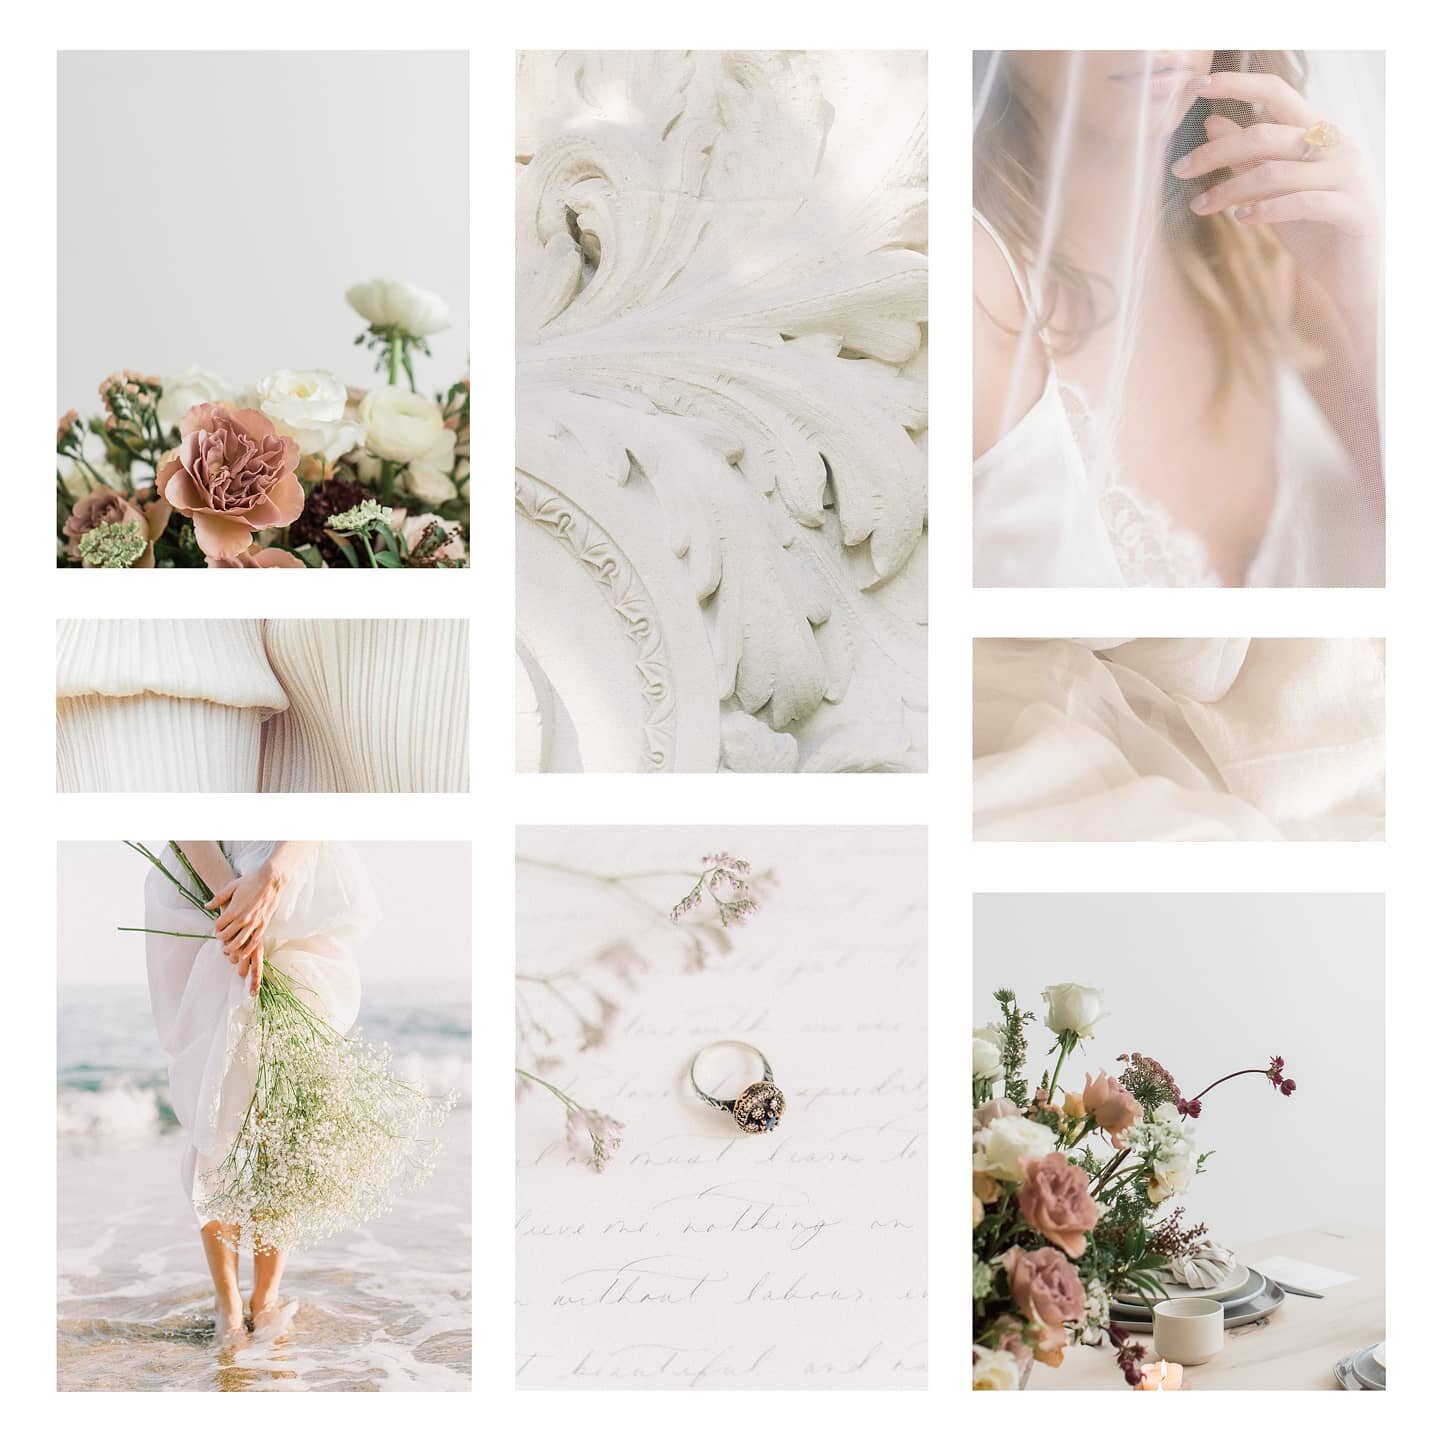
The discovery and research phase
Understanding your brand
Every successful design project begins with a clear understanding of the brand it represents. Before we dive into the specifics:
Reflect on Your Brand’s Essence:
What words would you use to describe the core of your brand? Think of your brand as a person. What characteristics define it? Is your brand elegant and sophisticated, or playful and approachable?
Identify Core Values:
Your brand’s core values are the principles that guide it. These values will influence every piece of content and image associated with your brand, ensuring consistency and authenticity in how your brand is presented.
Define Unique Services:
Clearly articulate the services that set you apart from others in the wedding planning industry. Understand and communicate the unique benefits clients will experience when working with you.
*Friendly reminder: Don’t forget to submit your Design Questionnaire by the due date!
BEFORE OUR PROJECT START DATE
Organizing your materials
-
Prepare concise and compelling textual content for each section of your website. The text should be well-written, engaging, and reflective of your brand's voice and tone. Let us know if you need copywriting help, and we will be happy to discuss how we can create content for your new website.
Homepage:
High-quality images showcasing recent weddings.
Brief intro about the owner or team.
Testimonials or quotes from satisfied clients.
About Page:
Detailed biography of the owner or the history of the planning company.
Mission statement or the company's unique value proposition.
Services Page:
Detailed descriptions of various wedding planning packages (full-service, day-of coordination, etc.).
Optional add-on services like honeymoon planning or engagement party planning.
Portfolio/Gallery:
Photos from past weddings, categorized by theme or venue if possible.
Brief descriptions or stories accompanying each set of photos.
Testimonials/Reviews Page:
More detailed reviews and testimonials from past clients.
Include photos of the couples if they give permission.
Blog:
Tips for brides and grooms.
Highlights from recent weddings or events.
Industry trends.
Contact Page:
A contact form for inquiries.
Links to social media profiles.
Phone number and email address.
Optional Add-On FAQs:
Answers to common questions such as pricing, availability, and booking process.
-
Ensure you have high-quality images, textual content, and any other materials handy. It's advisable to categorize them based on their usage, e.g., homepage images, testimonials, service descriptions, etc. Images are also a crucial part of your website. High-resolution, clear, and professional-looking images reflect the quality of your services. Ensure you have a mix of photos representing different aspects of your work.
Types of files
Text Formats: For text content, .docx files are preferred as they are easy to edit and format. If you have read-only documents, please save and send them as .pdf files.
Special Formats: If your project requires special file formats not mentioned here, please communicate this to us in advance. We’ll guide you on how to prepare and submit these files.
Image Formats: Save your images as .jpg or .png files. These formats are widely used, offer good quality, and are compatible with various platforms and devices. If you have vector images, .svg format is recommended.
Providing files in the correct formats is essential to ensure compatibility and ease of use during the design process.
Instructions to Add Files to Shared Google Folder:
Accessing the Folder: You'll receive an invitation link to a shared Google Drive folder in your email. Click on the link to access the folder.
Uploading Files: Once inside the folder:
Click on the '+ New' button on the left-hand side.
Choose 'File upload'.
Navigate to the files on your computer, select them and click 'Open' to start the upload.
Organizing Files: It's beneficial if you could create separate sub-folders for different types of content (e.g., 'Homepage Images', 'Service Descriptions'). To create a sub-folder:
Click on the '+ New' button.
Choose 'Folder'.
Name your folder and click 'Create'.
Sharing Additional Info: If you have any comments, descriptions, or specific instructions related to any file, feel free to create a text document in the folder with the necessary details.
Syncing Changes: Any changes or uploads you make will be automatically updated and visible to both of us, ensuring that we're always aligned.

The next steps
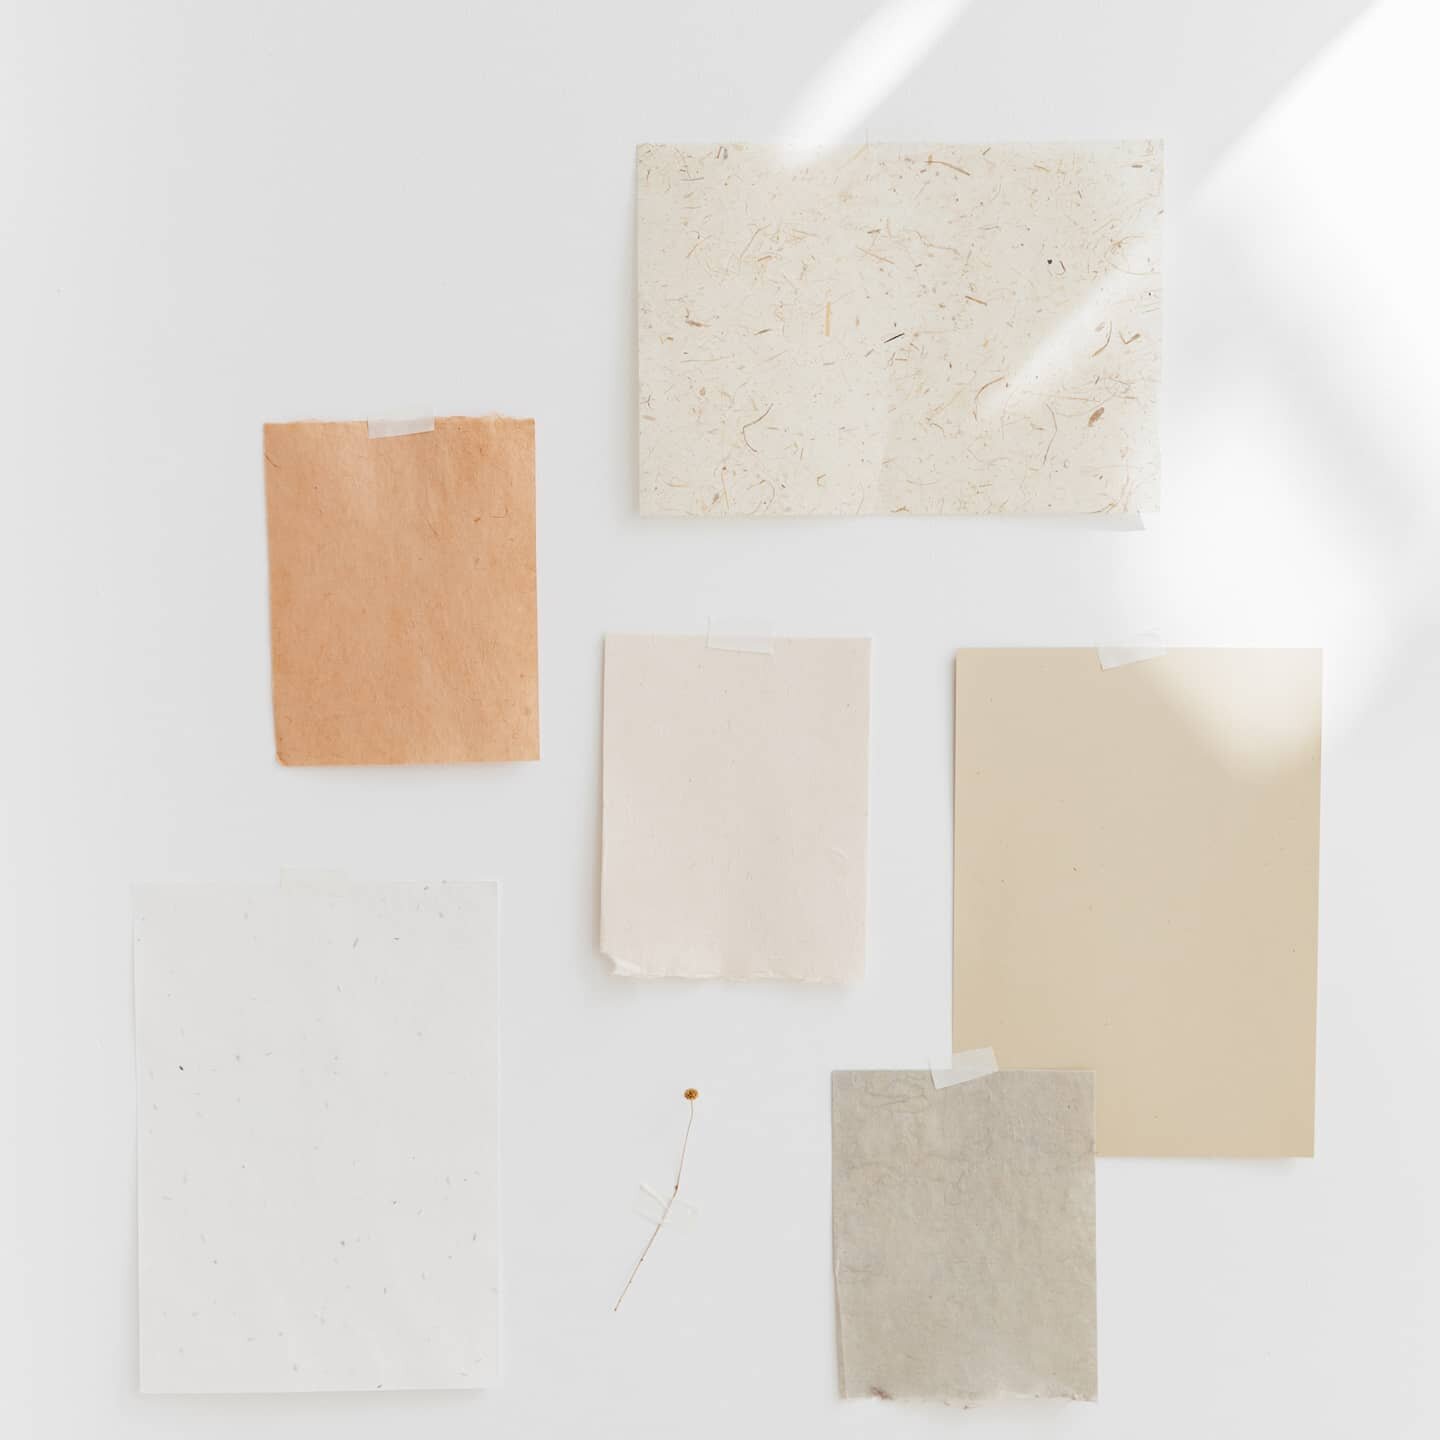
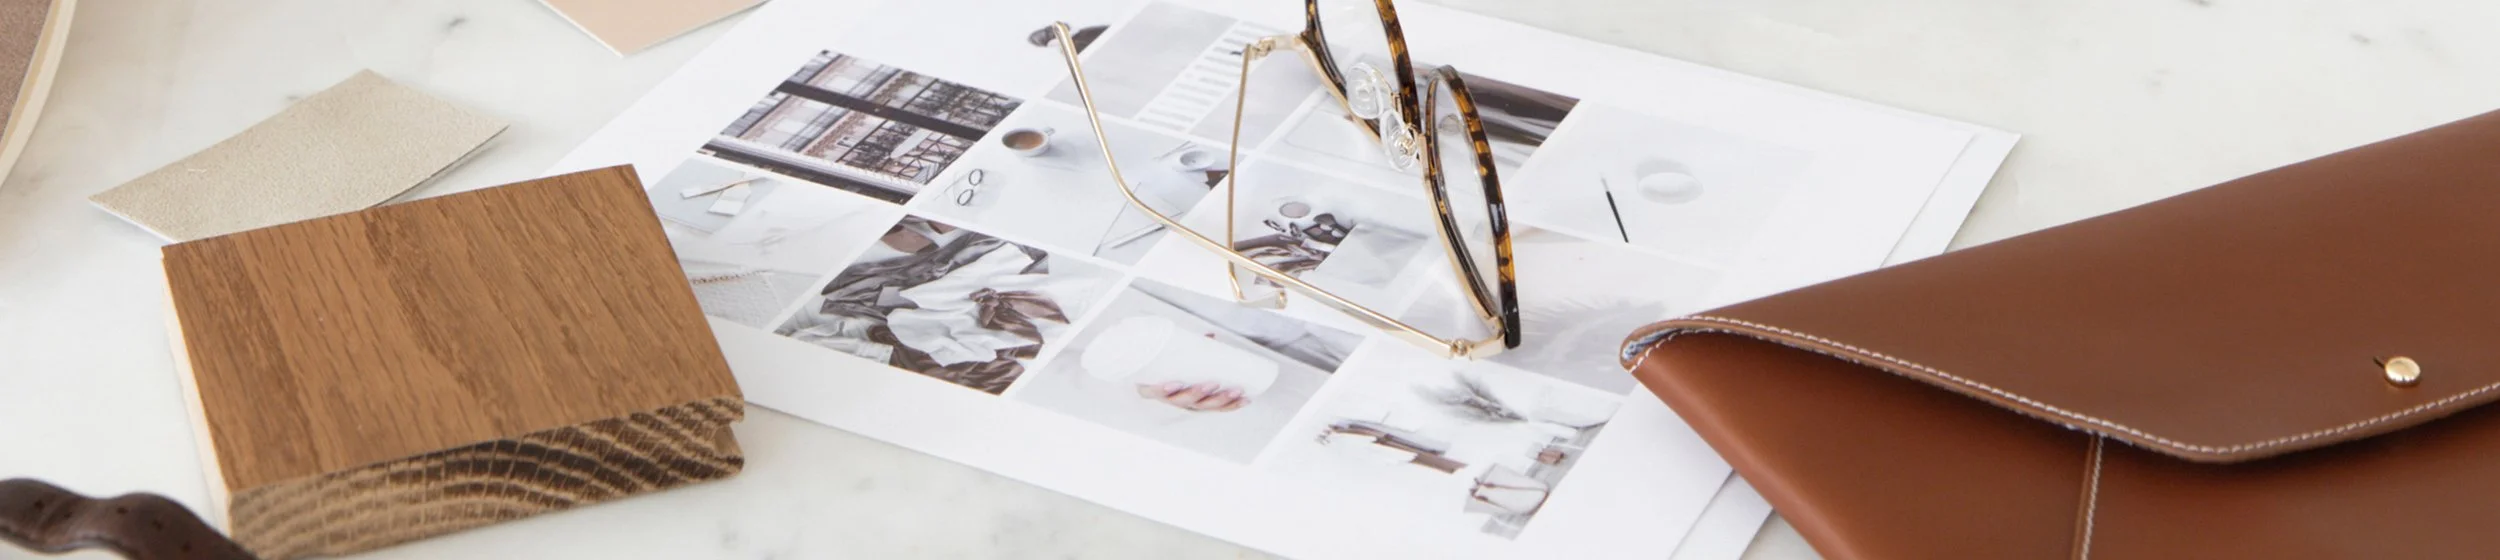
Brand Design & Feedback
In the initial week, the focus will be on crafting a comprehensive brand directive for your business. This phase involves the creation of an inspiration board that serves as a visual guide and sets the aesthetic tone for your business style. A color palette will be developed, aligning with the essence and objectives of your business. Concurrently, logo concepts will be designed, taking into consideration your specific business nature, target audience, and overarching goals. The cumulative output of this process will be encapsulated in a PDF, presenting your brand directive. This document will facilitate a deeper connection and understanding of your emerging brand identity.
Brand Revision & Homepage Preview
Upon receiving and incorporating your feedback, the revision phase for your brand commences. This stage also includes the design of additional brand items that have been previously agreed upon. Simultaneously, the preliminary structure and design of your homepage will take shape, embodying the design elements forged during the brand creation phase. This cohesive approach ensures a seamless integration of your newly developed brand attributes across various components.
Development & Pre-Launch Preparation
Upon receiving and incorporating your feedback, the revision phase for your brand commences. This stage also includes the design of additional brand items that have been previously agreed upon. Simultaneously, your homepage's preliminary structure and design will take shape, embodying the design elements forged during the brand creation phase. By this time, you will also have received your post-launch strategy guides, which include your strategic messaging guide and omnichannel action plan. This cohesive approach ensures a seamless integration of your newly developed brand attributes across various components.
Launch!
As we approach the launch phase, every detail, from brand elements to website functionality, has been finely tuned and readied. This is the perfect time to prepare and use some of your new strategic messaging. Creating your own action plan for your promotional materials and announcements across your various marketing channels will help you generate buzz and engagement. Our goal is to set a positive path for your brand's future and to provide you with the right tools and guidance to optimize your launch!
Should you have questions or need additional guidance at any stage, don't hesitate to reach out. We’re here to ensure a smooth and enjoyable experience as we collaboratively bring your brand and website to life!
“A woman is the full circle. Within her is the power to create, nurture and transform”